74
Escarpment Magazine Summer 2013
The old saying is true,
"Once you leave your
butcher, the hard part of preparing a prefect steak should
be done." Buy a great piece of meat, and don't worry
about the tricks.
We only age, Wet or Dry, the best we can find to start
with, Canadian AAA or higher, and it is selected for our
program. Since the inception of vacuum packaging, the
Dry Aged process has for the most part been ignored,
for many reasons, but mostly dollars and cents. It simply
costs more to Dry Age beef in both cooler space and
weight loss.
Simply put, for true natural beef flavour and tenderness,
the way it was meant to be, beef has to be aged naturally.
And while there is no formal definition, to us, Dry Aging
means leaving the cuts on the bone to 21 days for Tender-
loin; to 60 days for the Sirloin, Striploin and for the #1
steak for BBQ'ing......Rib Eye.
When you see Dry Aged Beef being offered, you should
ask how the aging process was done, as in some cases
they leave it in the bag for 30 days to age, then pull it from
bag and sit it in the cooler to dry out and change colour to
give it the dry aged look. Believeme, it’s not the same qual-
ity or flavour.
The Dry Aging process does two things in particular. The
first is the evaporation of excess moisture, (not inside the
cell walls) which results in a more concentrated beef
flavour and taste. Please note, your finished cooked prod-
uct will be very close to your starting weight as the excess
moisture is already gone. Secondly proper Dry Aging al-
lows the enzymes to break down the connective tissues
naturally. After 60 days its ready for the Q.
I always recommend your steaks be cut an inch and a
quarter or more. For those who say it’s too much meat, we
recommend that you buy one steak and split it after cook-
ing— that way, you get the portion size you want without
having a steak too thin to sear off and cook properly.
For seasoning on a Dry Aged steak, add a little course salt
and freshly ground pepper, a few minutes prior to putting
on the grill to allow time for the seasonings to moisten and
adhere to meat.
Turn your BBQ onto high for approx 10 minutes prior to
putting your steak on the grill. This allows the racks time to
get as hot as the flames, and gives you the sear marks you
are looking for. For medium rare, which we recommend,
put steaks in the middle of the grill. Using tongs, flip them
over after one minute, and cook approx 4-5 minutes on
the other side before flipping again for another 4 minutes
on the first side. Remember, you can always throw it back
on the grill if it’s too rare for your liking, but your can’t un-
cook it if you have cooked it too long.
You can also learn to tell correct doneness by using your
tongs and pushing on the middle of the steak, soft is rare,
stiff is well done. Practice this technique to develop the
proper feel. Each grill is a little different, so you will know
your perfect time after a few steaks.
Cover the meat and let it stand for approx. 4-5 minutes
prior to cutting into it, as this allows the juices in the middle
to work their way back into the whole steak.
The best accompaniment for any steak is an Ontario
grown tomato, it adds a little contrast to the heat, and also
adds a little moisture, which by definition is tenderness.
Plus, you get another food group on your plate.
|E|
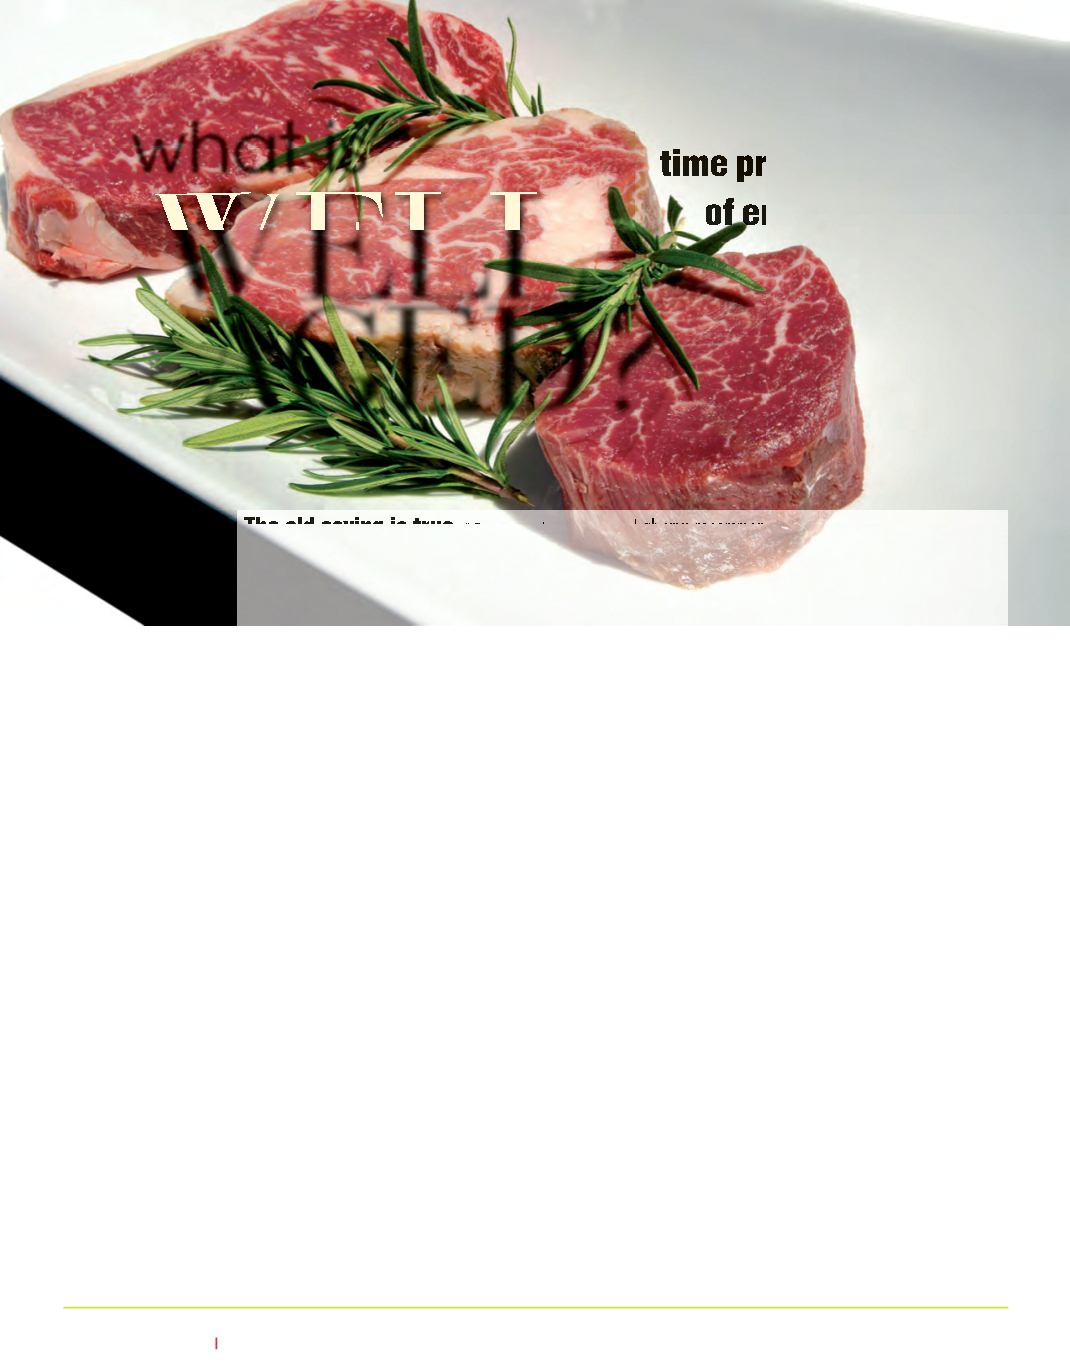
Aging beef is a
time proven way
of ensuring a great
piece of steak
has
reached
its
potential.
WELL
AGED?
what is
What's
old is new,
holds true
for fashion,
but also to
traditional
ways of
doing
things.
TEXT | SEAN KELLY
PHOTO | CLAY DOLAN
Learn more about cooking and selecting better cuts of meats, game and fish from Sean Kelly at
EPICURE
|
from the chef’s kitchen


